Sunday, 23 May 2010

Chorizo Risotto Stuffed Squid with Garlic and Cayenne Roasted Harlequin Squash

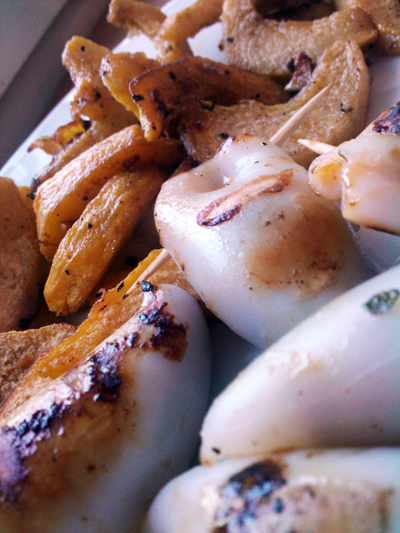
Squid Stuffed With Chorizo Risotto and Cayenne Roasted Harlequin Squash

As we have had such amazing weather this weekend I only thought it right for todays recipe to include grilling. Unfortunately however we now live in a flat with no balcony or garden so barbecues are out but we have a Foreman grill so I've just used that.

Seafood is always something I associate with summer, especially squid as it's something you usually eat on holiday. I remember walking through Spetses when I was younger with my parents and seeing rows and rows of squid and octopus - ofcourse then I thought that was disgusting but now it conjurs up thoughts of calamari and octopus salad and lots of other delicious dishes!

Chorizo Risotto

The little tubes can be pretty fiddly to fill if they are too small - I ordered the squid with our online shopping order so didn't get to pick which tubes I wanted and consequently got the smallest ones I've ever seen! Stuffing them sure was a task, but worth it. Like I said they were the smallest I've ever seen, the size I usually get would be much easier to fill.

This was also the first time I have tried harlequin squash. I've always eyed them up in the supermarket, bright orange and speckled and striped with green, but seem to end up getting the butternut variety, mainly as it's one of Pete's favourites. This time though I picked up a few, they seem to be the same density as butternut but smell just like pumpkin with the ubiquitus seeds and string to remove before cooking. The skin was harder to peel also, I ended up hacking it off with a knife rather than a peeler!
Squid Stuffed With Chorizo Risotto

Garlic and Cayenne Roasted Harlequin Squash
Serves 2

Ingredients
600g harlequin squash
2 large cloves of garlic, roughly chopped
3 tbsp olive oil
pinch of salt
3/4 tsp cayenne pepper


Method
Preheat the oven to 170 C / 335 F.

Peel the squash, remove the seeds and stringy innards and then but into slices about 1cm wide. Spread over a deep sided baking tray, strew over the chopped garlic, then sprinkle over the oil, salt and cayenne pepper.

Roast for half an hour, tossing halfway through.


*******

Chorizo Risotto Stuffed Squid
Serves 2

Ingredients
2 tbsp olive oil
50g chorizo sausage, diced very small
1 small red onion, diced very small
1 medium clove garlic, finely chopped
6 medium cleaned squid, tentacles diced small
50g arborio rice
2-3 tbsp flat leaf parsley, finely chopped
300ml boiling water - infused with a little saffron if you have it


Method
Fry off the onions, garlic and chorizo in the olive oil for about 3 minutes until the onions are soft and the chorizo has let go some of it's fat. Add the arborio rice, parsley and diced tentacles and fry for a further 3 minutes before adding a quarter of the boiling water. Turn the heat to medium and cook until the water has soaked into the rice. Repeat this step three more times with a quarter of the water each time.

After this taste the rice, it should now be softened. If not, repeat the above steps with 75ml water each time until the rice is cooked through. Remove from the hob and leave to cool for 15 minutes.

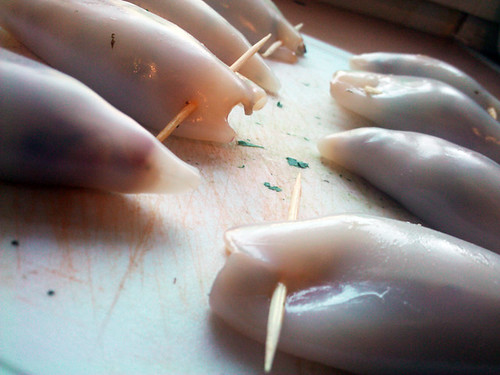
Take a clean squid tube and using a teaspoon stuff them with the cooled risotto up to around 1cm from the top of the tube. Take a cocktail stick and push it through the top of the tube at the open end as shown in the pictures above and below to stop the risotto from spilling out.

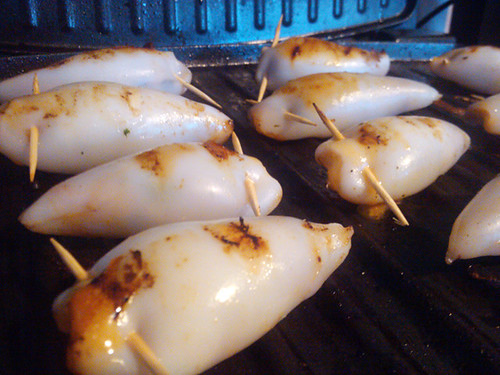
Grill on a barbecue, indoor grill or grill pan for 3-5 minutes on each side depending on the size of your squid. Don't overcook or you will get very rubbery results!

Serve with the roasted squash and a lemony vinaigretted
salad.
Squid Stuffed With Chorizo Risotto

Is it just me or do they look like strange little slug/bull hybrids? Just me? Ok...

Squid Stuffed With Chorizo Risotto and Cayenne Roasted Harlequin Squash

Pete said this was one of his favourite dinners yet, so I suggest you all try it soon!

Thursday, 20 May 2010

Chicken and Chorizo Stew

Chicken and Chorizo Stew - The Inky Kitchen

So obviously, I like to cook. It relaxes me, makes me feel accomplished when I come up with new recipes and improvements to existing recipes... and then you get to eat. Eating is good. Yes.

But sometimes after a long day at work, I'll get home and think 'Bleugh... I really can't be bothered to cook tonight'. Now I'm not saying that I never buy ready meals, as I am usually on some form of diet I do get low fat frozen meals but they never taste great and they have all those nasty little additives and preservatives and colourings in that we could all definitely do without. So the solution to this? Make your own ready meals!

This is quite a big thing around the blog community at the minute, there are lots of OAMC (Once A Month Cooking) recipes and planning tools popping up all over the place. I'm not that dedicated to the cause, most nights I do like to get home and potter about in the kitchen cooking up dinner listening to some good tunes or one of my many, many, MANY Vincent Price radio recordings. However, I know a lot of people have much harder jobs than I and spending one day cooking up a months worth of meals that will save hours for the rest of the month will be very appealing to them, so here is a recipe to add to the plan.

Chicken and Chorizo Stew - The Inky Kitchen

Chicken and Chorizo Stew
Makes around six 250g portions

Ingredients
2 tbsp olive oil
300g onions, cut into fairly large chunks
3 medium cloves of garlic, roughly chopped
225g chorizo sausage
400g mixed coloured peppers, cut into around 1" chunks
800g chicken, cut into around 1.5" chunks
Large pinch of Maldon salt
1/2 tsp white pepper
1/2 tsp cayenne pepper
1 tsp smoked paprika
150ml single cream
1 chicken stock cube
400ml boiling water
2 tbsp cornflour

Large soup/stew pot or casserole dish
Six foil food containers with card lids
Permanent marker

Method
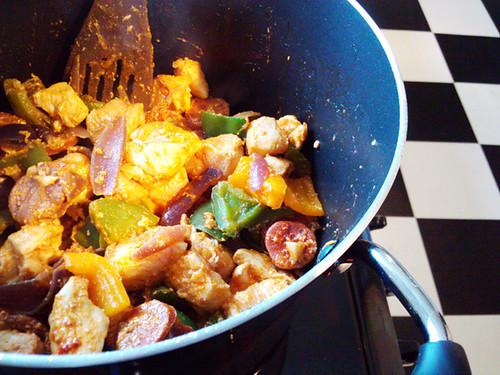
Fry the onion and garlic in the olive oil on a medium heat until soft and then add the chorizo and cook for a further five minutes - the chorizo will release its fat and tint the onion a lovely orange colour.

Tip in the mixed peppers and fry for another five minutes, then add the chicken and cook until the chicken is coloured all over. Season with the salt, white pepper, cayenne and smoked paprika and let cook for ten minutes stirring quite often before adding the cream and mixing thoroughly.

Dissolve the stock cube in the boiling water and add to the pot, stir well and turn the heat down to medium low. When the pot comes to a strong simmer stir again and leave to cook through for 30 minutes. You want there to be a good amount of liquid left and it will seem quite watery - you now stir in 2 tbsp cornflour to thicken the sauce, mixing well so you don't get any lumps.

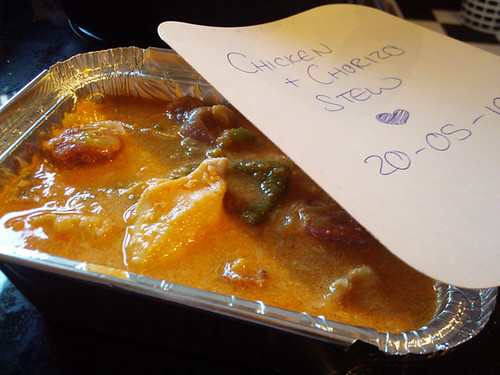
When combined, take off the heat and leave to cool for half an hour. Decant the stew into the food containers and mark on them the date that it will be in one month - this is your use by date.

Leave to cool completely and then freeze. To reheat straight from frozen place the container on a baking tray and cook at 160 C / 320 F for 45 minutes. Serve over rice or pasta or for a more special meal with some cheesy roasted potatoes.

Chicken and Chorizo Stew - The Inky Kitchen

Notes
I get my foil containers from Wilkos, they come in packs of ten for about a pound.

If you don't like spice, just leave out the cayenne pepper - the smoked paprika doesn't add heat, just a smoky sweet flavour that emphasises the chorizo really well.

This could easily be made vegetarian - I think replacing the chicken with mushrooms, aubergine pieces, tofu or sweet potato would work wonderfully.

The meats could also be changed, pork should work well as would a fairly firm fleshed fish such as monkfish or even some nice big prawns.

Please don't forget to write the use by date on the containers, we don't want anyone getting ill from eating a nice dish of year old zombified stew!!!

Sunday, 16 May 2010

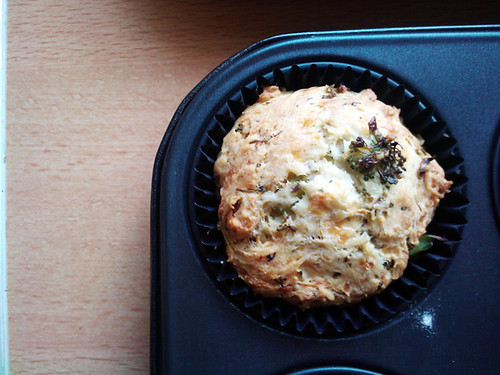
Cheese and Broccoli Lunch Muffins

Cheese and Brocolli Lunch Muffins - The Inky Kitchen

Pete and I are super bushed. We spent yesterday in Essex as I was getting more done to my back piece with Tiny Miss Becca. We had an awesome time despite the mega pain and the fact that no pain killers seemed to help me this time but the shop is so much fun the time flew by. Here is the gorgeous result of the five hours of ouchy...

My Back Tattoo - Tiny Miss Becca

So, needless to say, we needed a very yummy lunch today and warm, savoury muffins are a tasty and substantial lunch that are guaranteed to make you feel more alive from the inside out. Thankfully, they are also very easy to make so I was able to get these done in my zombie-like state without any bundles or mistakes!

Cheese and Brocolli Lunch Muffins - The Inky Kitchen

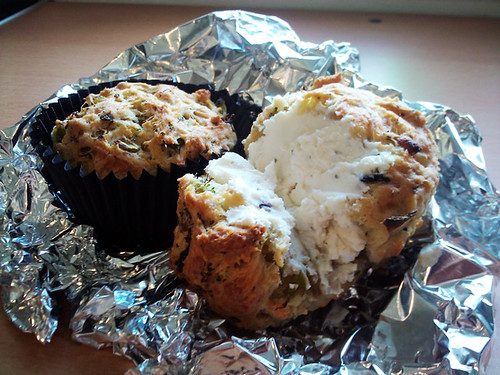
These babies taste best at room temperature and you can make them taste even better with a good smear of butter or cream cheese. I promise, they have revival properties that will fix the nastiest of hangovers or in our case, cut through the epic tiredness of a busy week.

Cheese and Brocolli Lunch Muffins - The Inky Kitchen

Cheese and Broccoli Lunch Muffins
Makes around 18 muffins if cooked in large cupcake cases

Ingredients
50g slightly salted butter
100g broccoli florets, small diced
50g button mushrooms - about 3 medium sized, small diced
50g white onion - about half a medium sized, small diced
1/8 tsp cayenne pepper
1.8tsp white pepper
good pinch of maldon salt
350g plain flour
2 1/2 tsp baking powder
250g cheddar or other hard cheese, grated
220ml milk and 1 large egg
, whisked together

Method
Preheat the oven to 170 C / 325 F and line two muffin trays with 18 large cupcake or muffin cases.

Melt the butter in a large saucepan and cook the chopped brocolli, mushrooms, onions, cayenne, white pepper and salt for around 5 minutes until they are cooked and the onion is translucent. Take off the heat and set aside to cool.

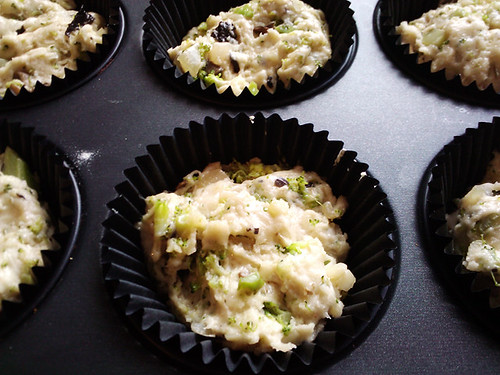
Put the flour, baking powder and cheese into a large bowl and mix with a wooden spoon, slowly adding in the milk and egg - the mixture will be pretty stiff so it requires a bit of elbow grease! You'll feel better for it, honest.

Next mix in the slightly cooled cooked veggies until they are evenly distributed through the batter mixture.

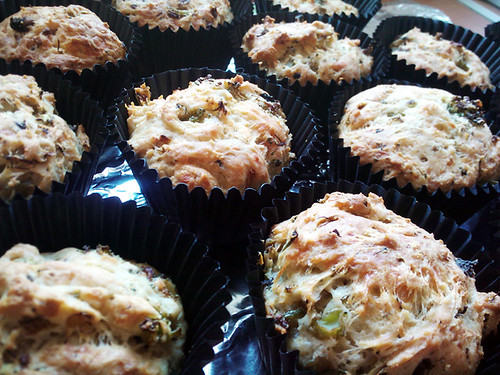
Divide this mixture between the cake cases and bake for 30-35 minutes until the tops are golden and spring back when you poke them. If you insert a knife into the muffin, it should come out clean when cooked through.

Allow them to cool in the baking pans for 10 minutes, then remove and leave to cool to room temperature on wire racks.

Cheese and Brocolli Lunch Muffins - The Inky Kitchen

Notes
You can use any mix of vegetables or types of cheese you fancy in this recipe, just keep the weights roughly the same. You could even throw in some chopped ham or other cold meat.

These are great for picnics and lunch boxes and you can even take them out with you for a breakfast on the go!

I think I'm going to try these with sun dried tomatoes, olives, basil and some parmesan next!

Filled Hot Cocoa Cupcakes - Nancy's Sweet Treat Boutique

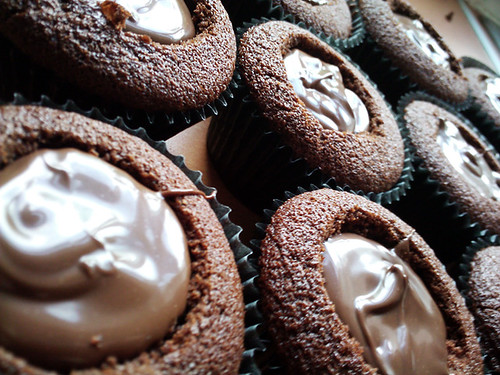
I had an order of my Hot Cocoa Cupcakes to make today too, here they are above being filled with milk chocolate ganache and below when they are finished with vanilla frosting, mini mallows and a nice drizzle of chocolate! If you microwave them the ganache centre melts as do the mallows and frosting on top - dreamy!

Hot Cocoa Cupcakes - Nancy's Sweet Treat Boutique


Friday, 14 May 2010

Baking for Becca

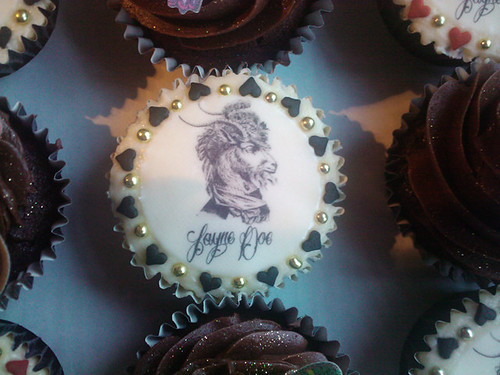
Cupcakes for the Jayne Doe Tattoo Crew

I have another appointment with the lovely Tiny Miss Becca tomorrow to get more colour put into the back piece she is doing on me. She has a gorgeous Victorian-esque shop in Hornchurch, Essex called Jayne Doe Tattoo. It's quite a drive from here in little old Loughborough but oh so worth it for her work!!! Here's the line work so far...

Linework of my upper back piece by Tiny Miss Becca

This is an old photo, I actually already have some colour on the shoulder closest to the front. The roses are beautiful blues and purples and we'll be doing some more colouring tomorrow.

Cupcakes for the Jayne Doe Tattoo Crew

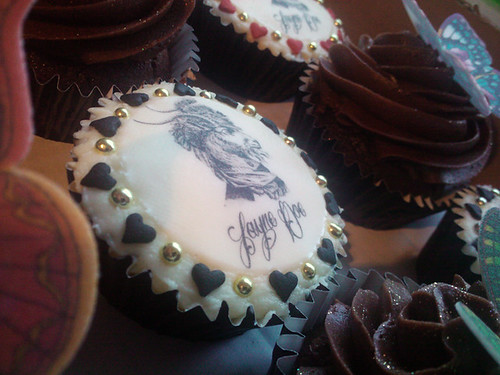
As we know, everyone loves presents, so I'm taking Becca and the crew a box of cupcakes and a vegan banana loaf to make the Saturday even sweeter. The cupcakes are vanilla cake with vanilla buttercream frosting and chocolate cake with ganache filling and chocolate buttercream frosting, all fancied up with printed icing discs of the shops logo and lots of glitter and sprinkles.

Cupcakes for the Jayne Doe Tattoo Crew

I really love these rice paper butterflies, I got them shipped over from Paris last year. They were expensive but very worth it - I got a box of 40 butterflies and there must be at least 20 different colour ways and butterfly shapes in there. I only use these for very special people and occasions!

Cupcakes for the Jayne Doe Tattoo Crew

I ordered the lovely printed icing discs from http://www.eatyourphoto.co.uk who are just wonderful. I ordered at 9am and received an email saying my discs had been dispatched just 2 hours later! I got twelve discs measuring 5.4cm across for £6.00, a few years ago I used them to order a larger icing photo for my Dad's birthday cake which turned out fab too - I'm definitely jonesing for a food colouring printer for Christmas!!! Hint hint Pete!!!

Sunday, 9 May 2010

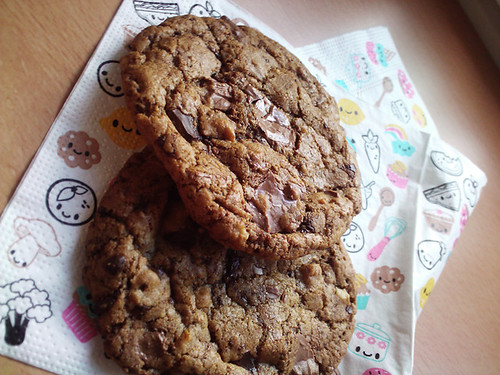
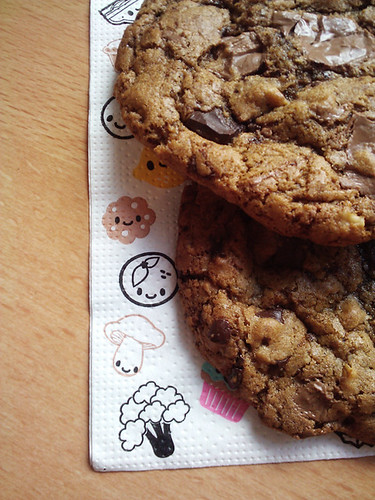
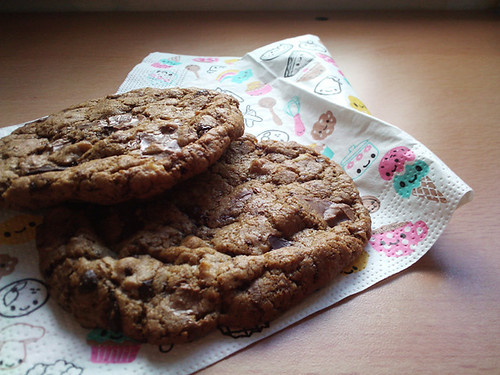
Nancy's Best Chocolate Chunk Cookies

Best Chocolate Chip Cookies - The Inky Kitchen

Cookies are not something I make very often. I think it's a combination of the fact that I always get distracted by cake recipes and that Pete and I will sit and eat a whole big batch in one sitting as they are so moreish. I wish my metabolism would allow me to do this with no ill effects on my already suffering waistline, but it just won't. I get ridiculously jealous of those lucky lucky women who can plough through dozens of cupcakes and cookies and stay thin and gorgeous (cough... Natalie of Bake and Destroy... cough) but for me, those treats go straight to my thighs. But, my green eyed monster being pushed aside, these cookies really are worth an extra half hour on the cross trainer.

Best Chocolate Chip Cookies - The Inky Kitchen

The perfect cookie recipe is one of the holy grails of baking and I think this gets pretty close - it has taken long enough to develop! Chopped cold butter? Room temperature butter? Melted butter? A mix of sugars? Which kinds of chocolate? Nuts or no nuts? So many ingredient decisions to make and quantities to change! The cooking time is also a very important part of a perfect cookie. I am definitely a chewy gooey fan, but I do know some crispy cookie lovers so have given cooking times for both styles. I have used walnuts in my recipe also but if you are allergic or just plain hate nuts feel free to leave them out altogether, you could add in another 50g of chocolate if you so desire.

Best Chocolate Chip Cookies - The Inky Kitchen

Nancy's Best Chocolate Chunk Cookies
Makes 20 large cookies

Ingredients
125g slightly salted butter, melted
100g caster sugar
200g dark muscovado sugar
1 whole egg
1 egg yolk
1 tbsp vanilla extract
250g plain flour
1/2 tsp bicarbonate of soda
1 tsp salt
200g milk chocolate, roughly chopped
100g dark chocolate, roughly chopped
100g walnuts, roughly chopped (optional)

Method
Preheat the oven to 170 C / 338 F and line two baking trays with greaseproof paper.

Beat together the melted butter, caster and muscovado sugars until no lumps remain, then add the eggs and vanilla essence and mix until light and creamy - around 2-3 minutes.

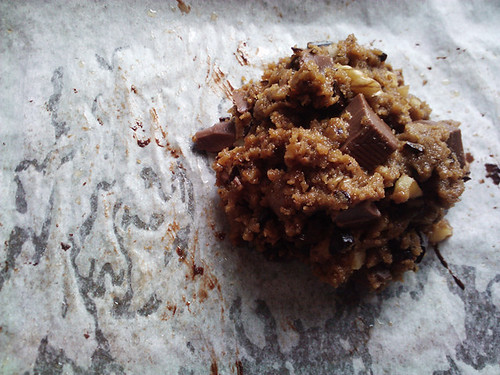
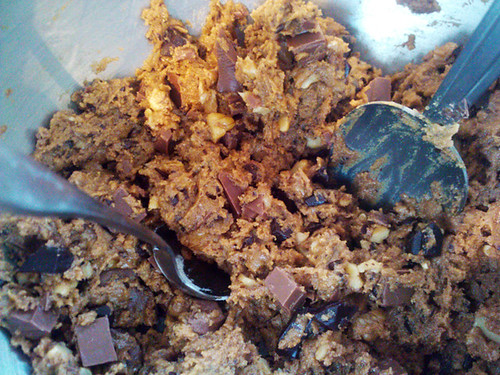
Mix in the flour, bicarbonate of soda and salt until just blended and then stir in the chocolate and walnut chunky by hand with a wooden spoon - the mixture is very thick and chunky now and therefore it may damage your hand beaters or stand mixer.

Drop very heaped tablespoons of the cookie dough onto the baking sheets leaving around 8cm between them (I baked four cookies on each tray at a time).

Bake in the preheated oven for 12 to 13 minutes for chewy cookies or 16 to 17 minutes for crisp cookies. Remove and let cool for a few minutes on the baking tray before removing to a cooling rack and baking the next batch. Try one warm out of he oven - so so good!

Best Chocolate Chip Cookies - The Inky Kitchen

Notes
I like to chop the dark chocolate quite finely and the milk chocolate into pretty big chunks, that way the dark chocolate is distributed better through the dough so the cocoa flavour is always present, and then you'll hit a big milk chocolate chunk deposit every now and again which is always nice!

Try and use the best chocolate you can get, after all, it is the star of the recipe.

The dark muscovado gives a real caramelly taste to the cookies which the walnuts accent really well, but as I said before, the nuts are optional but highly recommended!

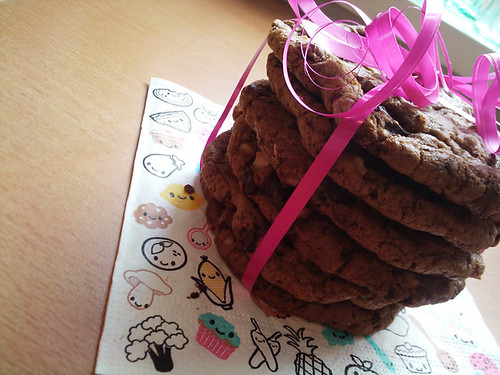
And look how pretty they are wrapped up as a present - who wouldn't be thrilled to be given this as a gift...?


Best Chocolate Chip Cookies - The Inky Kitchen

And a side note...
Today I was drinking some cream soda and decided I needed some ice cubes so I grabbed some from the freezer. It was only after throwing them in that I realised I had grabbed the white wine cubes that I always keep in the freezer in case I need a little wine for a recipe and don't feel like drinking the rest of the bottle. As it turns out, cream soda and white wine go together really well! I think it's my new summer drink of choice. Second to Pimms of course...

Best Chocolate Chip Cookies - The Inky Kitchen

Tuesday, 4 May 2010

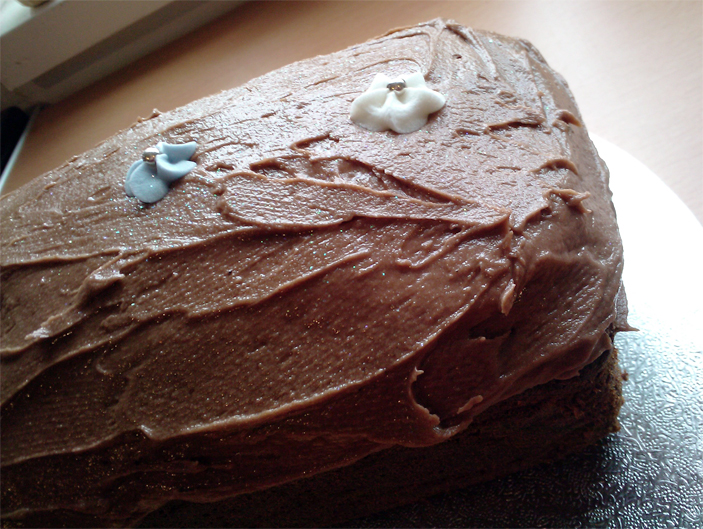
Chocolate Frosted Banana Loaf Cake

Chocolate Frosted Banana Bread - The Inky Kitchen

Waste is one of my pet peeves. If I roast a chicken I will make it last at least two meals and I will usually use the carcass to make stock. It's not being cheap, it is being sensible and sensitive of the fact that there are millions of people all over the world that have no food at all. I know my not throwing away chicken bones isn't helping them but it helps me remember to be grateful for what I have.

Bananas are a thing that goes to waste a lot, we buy them in big bunches and then when their yellow skin is splodged with brown and they are too ripe to eat as is we just throw them away. No no no! There are lots of delicious things you can make with over ripe bananas - milkshakes, smoothies, bannoffee desserts, slice them and cover them in lovely warm creamy custard... the list goes on. But as I am so often inclined, I take the cake road.

Chocolate Frosted Banana Bread - The Inky Kitchen

Banana bread is a teatime staple but is very often overlooked as an old fashioned recipe. This version is beautifully moist and fills your whole house with the sweet, spicy smell of baking. It is not a traditional banana bread, more a banana loaf cake and the slather of dreamy chocolate frosting offsets the light spicing wonderfully.

If you can manage to, wrap the cooled loaf in cling film and then frost the next day. The beautiful dampness seems to intensify if you leave it overnight.

Chocolate Frosted Banana Bread - The Inky Kitchen

Chocolate Frosted Banana Loaf Cake
Serves 8-10
Adapted from a recipe in The Hummingbird Bakery Cookbook by Tarek Malouf

Cake Ingredients
200g ripe bananas, mashed (this is about 2 large bananas)
140g slightly salted butter, melted
280g plain flour
230g light brown sugar
40g dark brown sugar
2 eggs
1/2 tsp vanilla extract
1 tsp baking powder
1 tsp bicarbonate of soda
1 tsp ground cinnamon
1 tsp ground ginger
1/8 tsp ground nutmeg


Frosting Ingredients
60g slightly salted butter at room temperature
100g milk chocolate, melted and slightly cooled
1 tbsp milk
1/2 tsp vanilla extract
1 heaped tbsp cocoa powder
300g icing sugar, sieved


Cake Method
Preheat the oven to 170C / 325F.

Beat the sugar, vanilla and eggs until well mixed and then add the mashed banana and stir again.

Next add the dry ingredients - flour, baking powder, bicarbonate of soda, cinnamon, ginger and nutmeg - and mix thoroughly until no lumps remain.

Slowly pour in the melted butter while mixing and beat until smooth. Pour into a greased 23 x 13 cm loaf tin and smooth over the top with a spatula or palette knife.

Bake on the middle shelf of the oven for an hour or until a knife slid into the centre of the cake comes out clean with no raw batter on it. Leave to cool in the tin for around fifteen minutes before removing and placing it on a cake platter. If you can, leave covered in cling film overnight before frosting.


Frosting Method
Beat the butter, milk and vanilla extract with the cocoa powder until smooth, then add the slightly cooled melted chocolate.

Mix until well blended and then add the icing sugar one tablespoon at a time until a spreadable consistency is achieved. You may not need to use the whole 300 grams.

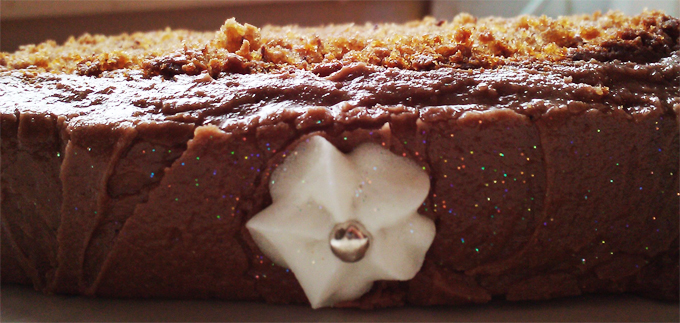
Spread rustically over the cooled banana loaf cake and then, if you wish, decorate with little icing flowers and a little edible glitter.


Chocolate Frosted Banana Bread - The Inky Kitchen

Cheeky Extra Recipe
Take two medium or three small ripe bananas, roughly chop and put into a blender. Add one large scoop of vanilla ice cream, a small cup of milk and a heaped tablespoon of honey. Blend until smooth and you have a delicious and (fairly) healthy milkshake!

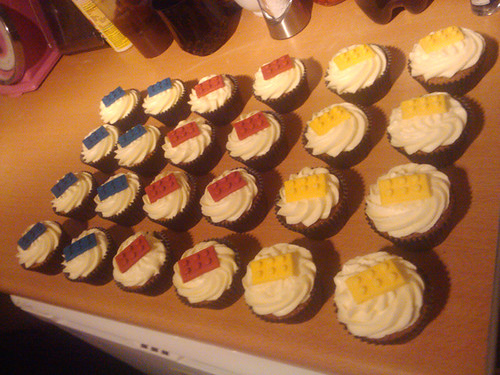
Lego Cupcakes

Lego Cupcakes

These were for my little sister's boyfriend Jack's 18th birthday.

Lego Cupcakes

Apparently he gave one to his teacher and it got him an extra weeks extension on a project deadline. Win!

Lego Cupcakes

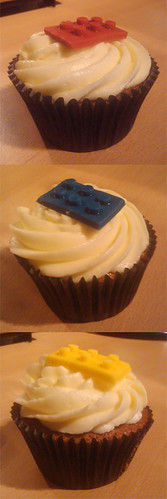
I'm not very experienced with fondant - I am ALL about the buttercream - but I think the little Lego bricks came out great!

I think I'm gonna get some bricks of fondant this weekend and just have a play around and make some lil models. I'll post some pictures if they come out ok (don't hold your breath).

Monday, 3 May 2010

Baking Update and Wonderful Tea!

Just a quick update of some of the orders I've had recently...

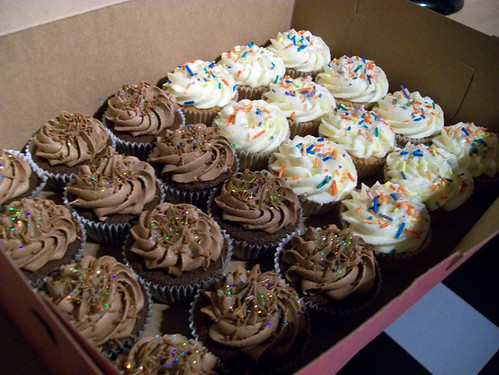
Chocolate and Vanilla Mini Cupcakes

Chocolate and vanilla mini cupcakes.

Chocolate Mini Cupcakes

Chocolate mini cupcakes.

Vanilla Mini Cupcakes

Vanilla mini cupcakes.

Double Chocolate Layer Cake

Double chocolate layer cake.

My First Attempt At Macarons

Pink vanilla macarons with milk chocolate ganache. My first attempt at macarons!

Mr Scruff Herbal Teas

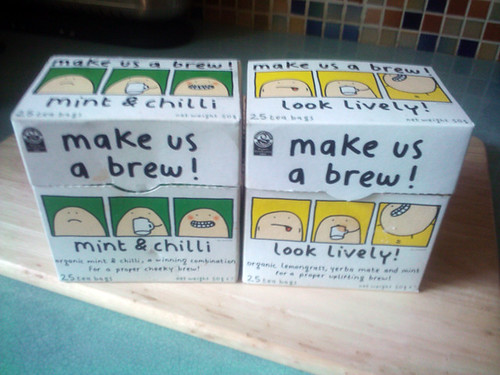
And this is just a photo of the coolest tea around! Mr Scruff tea!!! My friends Jon and Sarah bought it from a local health store, Mr Scruff is a musician you should check out if you don't know who he is.